
In short
Wedding photos work well as wall art when the framing style, print size and arrangement are chosen to match your home's existing interior rather than treated as an afterthought once the photos arrive.
- Choose a framing style that matches your home's existing furniture and colours.
- A gallery wall works best with a planned mix of sizes rather than random leftovers.
- Enlarge photos with strong composition and enough background detail, not just favourites.
- Start with one wall or one photo if you are unsure how to approach the whole space.
Framing styles that suit different home interiors
The right frame style depends heavily on the rest of your home's interior, not just the photo itself. A thin black or wood frame tends to suit a more minimalist or modern interior, while a heavier moulded frame can suit a more classic or traditional home. Matching the frame to your existing furniture and colour palette generally looks more considered than choosing a frame in isolation.
Frameless options, such as a canvas print or a print mounted directly onto a board, are another route couples take when they want the photo itself to be the focus without a visible border competing for attention. This tends to suit more contemporary interiors.
If you are unsure what will suit your space, bringing a sample of the print or a photo of the frame into your home before committing can help you judge how it will look once hung.
Creating a gallery wall with a mix of print sizes
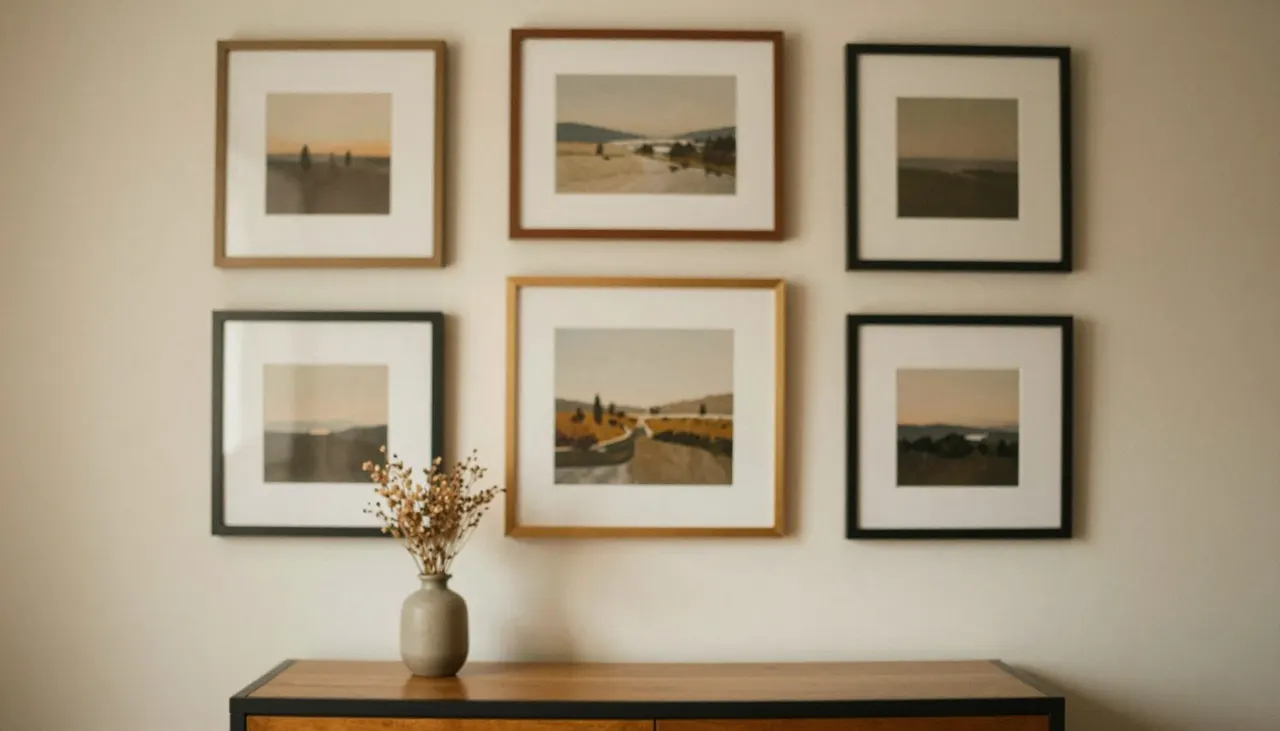
A gallery wall, where several photos of different sizes are arranged together on one wall, is a popular way to display more than one favourite wedding photo without relying on a single large piece. This works best when the sizes and spacing are planned out beforehand, rather than added piece by piece as prints arrive.
A common approach is to lay the prints out on the floor first, in the arrangement you are considering, and adjust the spacing and order before anything goes on the wall. This avoids uneven gaps or a cluttered look once everything is hung.
Mixing portrait and landscape orientations, along with a couple of smaller detail shots alongside larger key moments, tends to create a more balanced gallery wall than using photos that are all the same size and orientation.
Choosing which photos work best enlarged
Not every photo you love at a small size will hold up equally well enlarged onto a wall. Photos with a clear composition, good use of light and enough surrounding detail generally enlarge better than tightly cropped or busy shots, which can look strained or empty at a larger size.
It helps to separate your favourite photos into two groups: the ones you love because of the moment they capture, and the ones that would also work visually as a larger print. These two groups sometimes overlap less than you expect, so it is worth reviewing your full gallery with this distinction in mind rather than defaulting to the first photos you noticed.
If you are unsure which photos would enlarge well, ask your studio for their view before ordering a large print, since they can usually tell from the file itself.
Where to start if you are unsure what fits your space
If planning a full gallery wall feels like too much to decide at once, starting with a single statement photo in one room is a reasonable first step. Living rooms, hallways and staircases are common starting points because they are seen often and usually have a clear stretch of wall available.
Once that first piece is up and you have lived with it for a while, it becomes easier to judge whether you want to add more photos nearby, start a second display elsewhere in the home, or leave it as a single piece. There is no need to plan the entire display in one sitting.
Taking this gradual approach also spreads out the decisions and the ordering process, rather than trying to finalise every size, frame and photo choice all at once.
Deciding how many photos to display and where
Beyond the living room, couples in Singapore often display wedding photos in hallways, staircases, home offices or bedrooms, choosing locations based on which rooms guests see most and which feel more private. A hallway display might favour a wider mix of candid and group shots, while a bedroom display often leans towards a single more personal portrait.
It is worth thinking about how many photos you realistically want on display across your home before ordering prints one at a time, since this affects whether you lean towards a few larger statement pieces or a wider spread of smaller ones. Neither approach needs to be decided immediately, but having a rough plan helps avoid an uneven mix over time.
If you change your mind later, most prints and frames can be added to or rearranged without needing to redo what is already hung.
If you would like advice on which of your wedding photos would work best as wall art, get in touch to talk it through, or see our general guide to wedding albums and prints for more on sizing and materials.